Showing posts with label Inspiration. Show all posts

Friday 20 October 2017

Itty Bitty Accordion Mini Album by DT Kriti


Namaste Friends!!

This is Kriti and today I'll inspire you all with a cute little itty bitty mini album.

I love making these kinds of mini albums. Making your own mini albums gives you such a sense of accomplishment. This mini album can be easily completed in an hour or so and this can be a perfect last minute gift. Record special life moments in these tiny books that a loved one will treasure forever. 

These are so fun to make that you will want to give them to everyone you know.

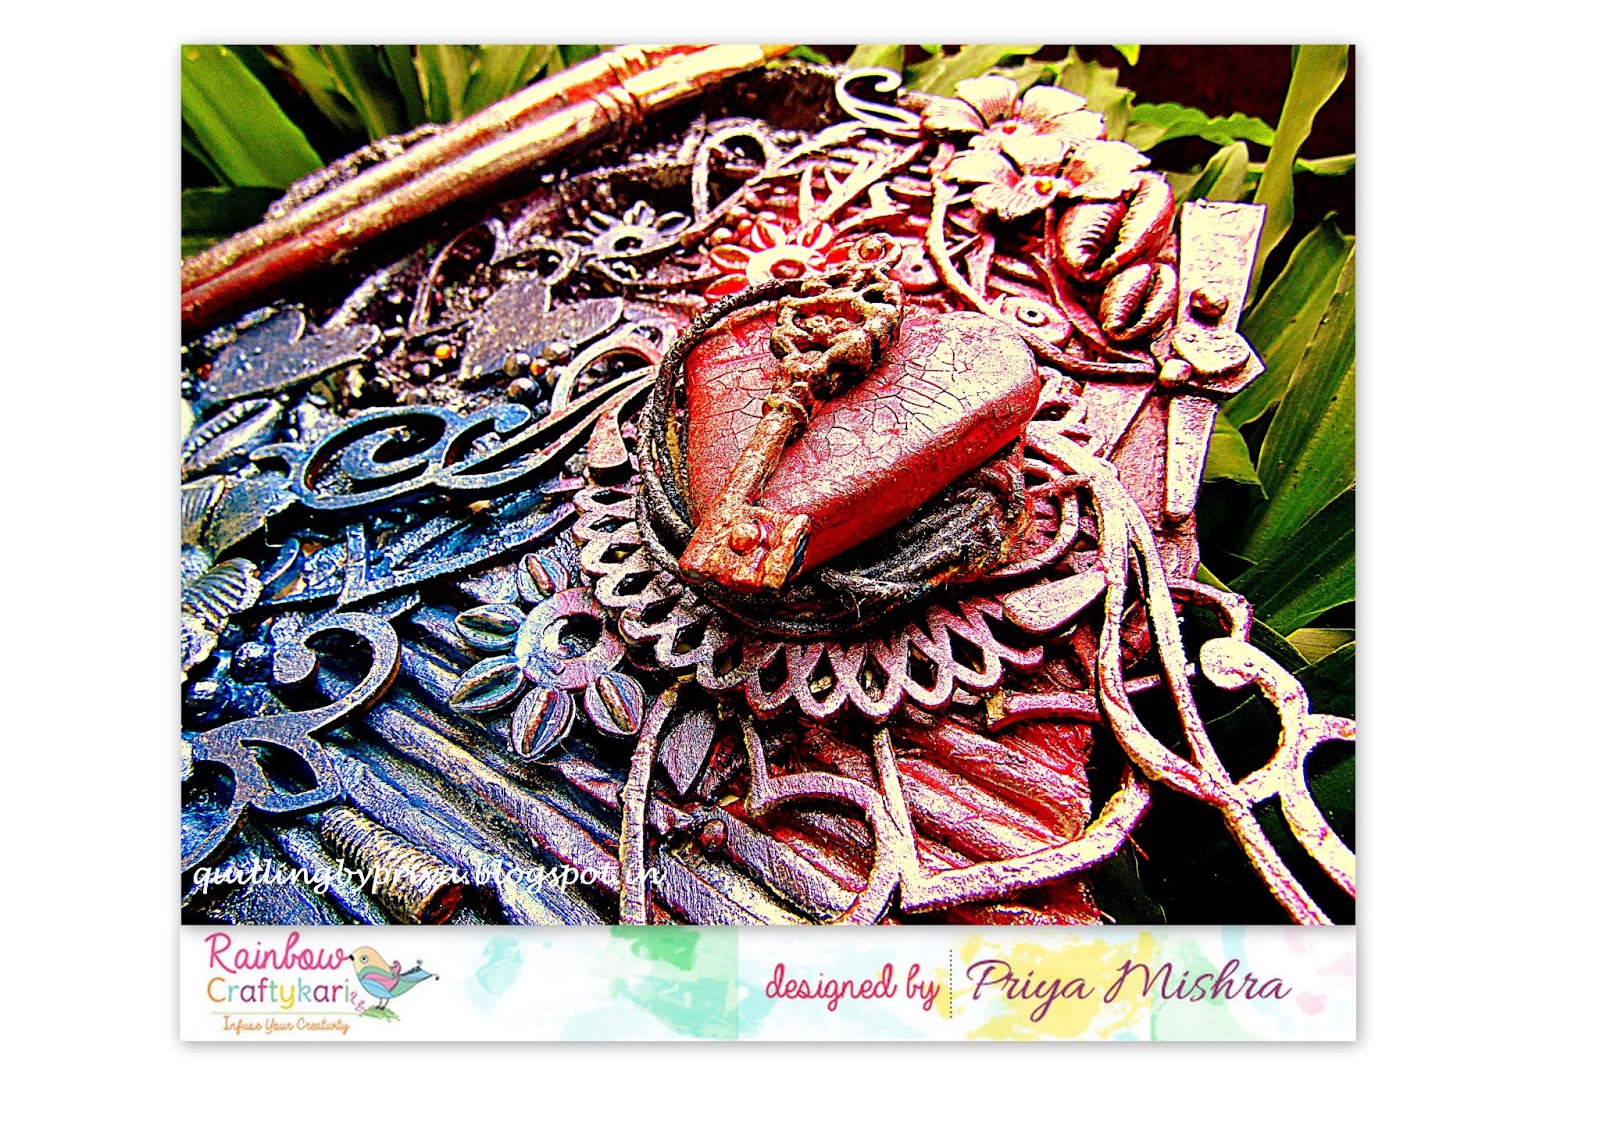
So, here is the project:


Some more pictures:


Size of this album is 3-1/4" x 3-1/4".


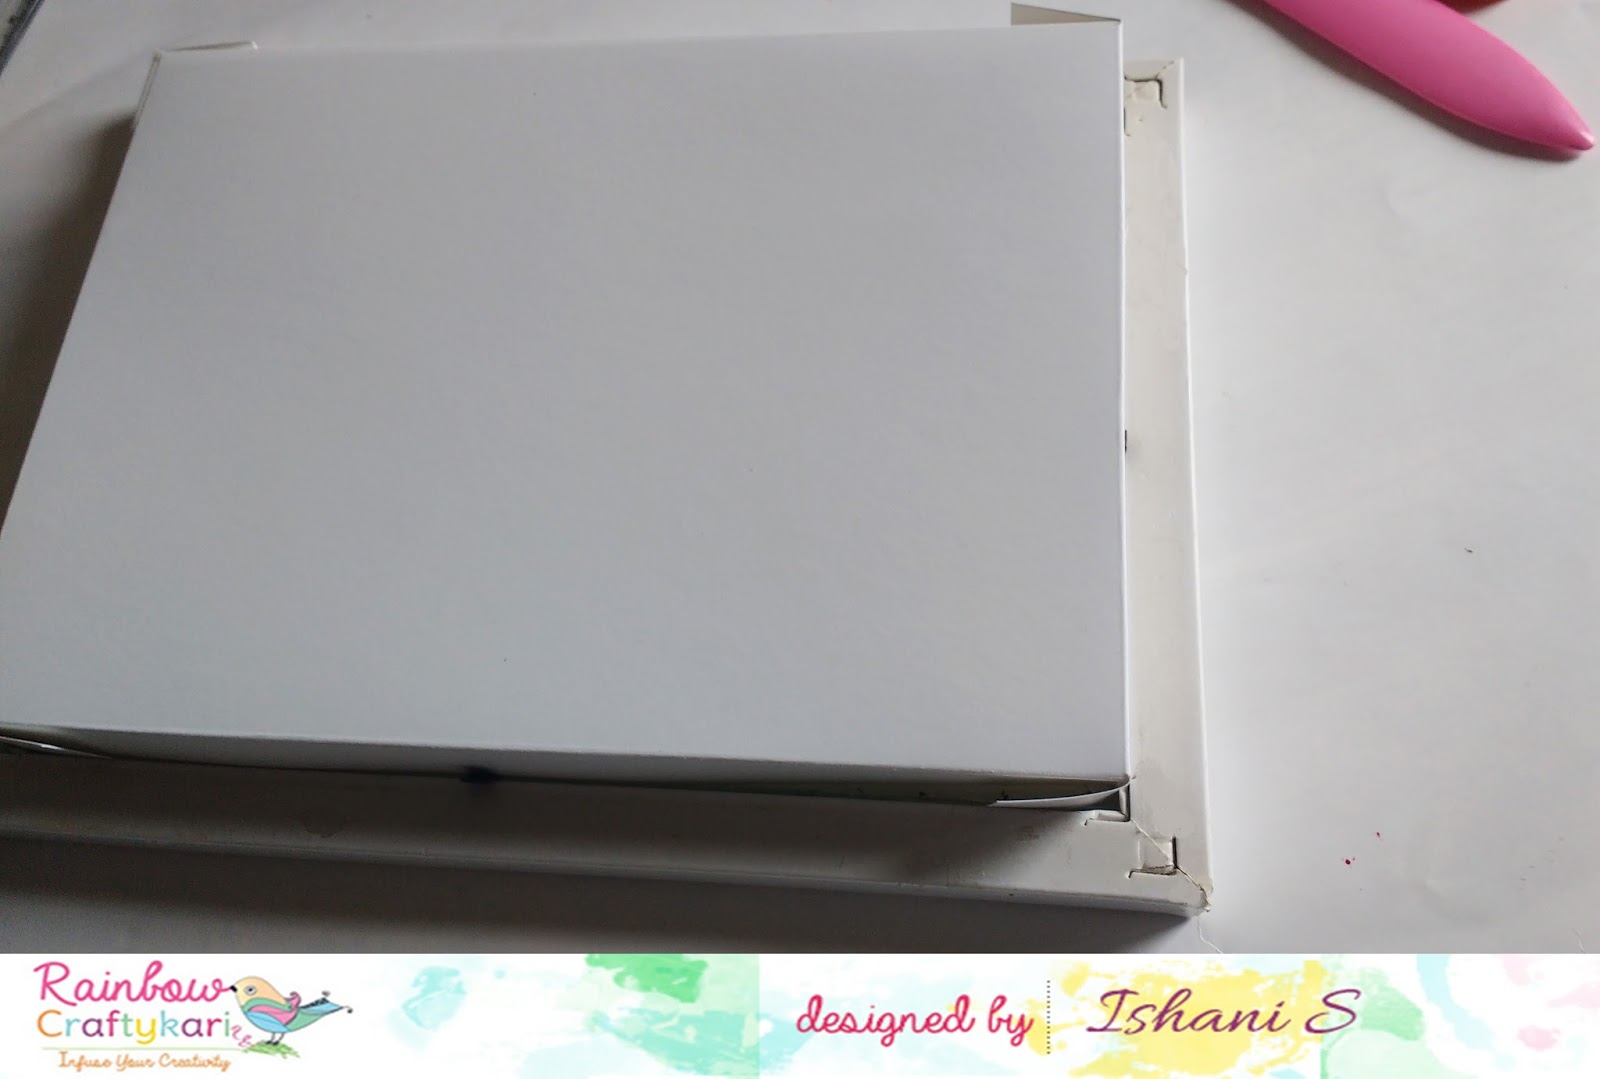
Here's a brief on how to make it:


Take a cardstock of size 9" x 3-1/4". Score it at 3-1/4", 3-3/4", 7", 7-1/2" on the 9" side. This will be the cover.


Now take two cardstocks of size 12" x 3". Score both of them at 3", 6", and 9" on the 12" side and join them at the end pages so that they make a complete accordion. (If u want to add more photos you can attach more pages accordingly).


Now for the belly band, take a cardstock of size 1" x 8-1/2". Score it at 3-1/4", 3-7/8", 7-1/8" and 7-3/4 on the 8- 1/2" side.


Mat them with your choice of scrapbook paper. And your cute little itty bitty mini album is ready.


Material used:

  • Cardstock (Ivory)
  • Pattern Paper(Papericious- Perfect Affair)
  • Scissors
  • Big-shot
  • Sizzix Oval scallop dies
  • Glue
  • WRMK Score and Trim Board

All the above mention products are available at Rainbow Craftykari store or you can pre-order them by sending an email to rainbowcraftykari@gmail.com.

RegardsKriti Mishra

Monday 16 October 2017

Diwali Lamp Inspiration by DT Priya Mishra

Hello Crafty Friends,


Priya here today with an Inspiration post for you. 


Today I'm going to share a Lamp. This is Diwali month and you all must be busy decorating your house. Then why not something handmade, quick and attractive. 


Here's my project...


Well, it was not very quick but I had fun making it. No, I have not followed any cutting files for this, made my own drawing here. Used a lot of things from my stash and a lot of new things too.


These are the materials I used to make this and I listed the same at the end of the post. So, for this first, I drew the outline of the lamp on a piece of paper and traced the same on the patterned paper. Then I cut out the unnecessary parts and attached vellum on the window panels. Then I assembled the lamp. 


After the upper part is done, I used a thermocol sheet to make the base of the lamp, so that it can stand properly. I cut it in a hexagon shape and attached cardstock on both sides to give it more strength. Then I attached the empty aluminium foil roll into it and covered the whole part with patterned paper. Then for attaching the lamp also I cut a small thermocol sheet and covered it with patterned paper and attached it to the tissue roll. Once the base is dried completely and looked firm, I attached the lamp on it.


Here, You can keep it unattached and adhere a tea light on it also. I'm planning to do that in future.


Then I attached laces on the borders to make it look more attractive, also attached some flowers which are from the store. Some leaf die cuts here and there and my lamp is ready.


Some more images 


Materials Used:

  • White Cardstock
  • Enogreeting Paper Pack
  • Vellum
  • Papericious Lace
  • Thermocol Sheet
  • Empty Foil roll
  • Flowers 
  • Die-cut Leaves
  • Tacky Glue
  • Paper Cutter
  • Scissors

Hope you like my work. You can find all the above materials at Rainbow Craftykari Store or pre-order by sending email to rainbowcraftykari@gmail.com.

Don't forget to participate in the challenge here and you can win lots of exciting prizes.

Hugs,


Priya


Monday 2 October 2017

Sun catcher Wall hanging by Blog Coordinator Aditi Mahajan


Hello Everyone,

Time surely flies! It's October and I'm back with an inspiration for you for our October Challenge! 


Today I decided to make some DIY gifts for the festive season. These project ideas are so simple, that parents/teachers can teach kids to make them and they can proudly flaunt their hand-made creations. 

First up is a Sun Catcher Wall Hanging- Included the twist of lights in the form of the Sun and the celebration here are the festivals!


For this hanging, I altered an MDF piece, however, you could simply take an image of the sun from the internet and trace it onto chipboard (those good at drawing can draw it also). Next, cover the surface with gesso if your base is dark. Play with colors. Here I spread colors on the gell press plate and lifted them on my surface. First yellow, next orange and then some magenta. Do this on both the front and back, since it's a hanging both sides will be visible. Next, pick a stencil and place it on the base, dab some gold paint with a piece of sponge. This enhances the look and adds some interest. Cut out pieces of chipboard for the eyes, nose, mouth, and eyebrow and paint them. Stick them with glue. Punch two holes- one on the top and one at the bottom. String a few beads and a bell and tie it to the hole at the bottom. Similarly, string some beads with a hook and add it to the top. That's it, you have a fantastic wall hanging.

Here are some close ups:


Next, is a tea light holder.


For this, I used an MDF Coaster base, and brushed white gesso. I stuck some pieces of newspaper and then covered it with gesso again. I then used some modelling paste through a stencil for added texture. Next, I applied some sand texture. I then spritzed some colours. Next, On the sand texture, I used Inka gold to highlight it. Finally, I mixed some metallic paint to modelling paste and applied it with another stencil. 

Supply list:


  • MDF/Chipboard Base
  • Acrylic paints- Standard and Metallic Finish
  • Gell Press
  • Assorted Stencils
  • Beads
  • String
  • Bell
  • Plastic loop for the hanging
  • Inka Gold
  • Sand Texture
  • Modelling Paste
  • White Gesso
  • Newspaper pieces

Hope you're inspired and do participate in the challenge!Happy Crafting!Aditi


Saturday 30 September 2017

Origami Shadow Box by DT Ishani


Hello Dear friends,


Today I am here with an Inspiration post for you, an easy DIY shadow box + Origami, you could gift to your friend who just had a baby. I am using an age old paper art - Origami for my shadow box, but you could use it for anything you want to display.


I always felt the dimensions of a project like quilling and origami gives the handmade creations a different look. But I always struggled to find a frame for the same, even if I found, it was a little expensive for me. So why not give dimension to a common photo frame?

You can choose any dimension of photo frame for this, depending on your project. Remove the pins and the backing of the frame. Now you will have the glass, the side frame and the backing of the frame.


Take a heavy gsm paper, 220 gsm or more and trace the glass size on it. Now with the ruler, trace 2 cms around the glass measurements.


Let the lines dissect when meeting at the corner. These lines will give depth to the edges of the frame. Then, cut along the outer line to get a rectangle.


Next, with a scoring tool score the innermost line, to get raised edges. Cut the two opposite corners.


Fold the four side with the help of a scoring tool, giving it a neat crease on the inner most line.


Now that you have raised sides stick the corners together with a cello tape. Try to place it in the frame and see if it fits well. 


Now that the frame is almost ready, once you put all the elements together place the backing of the frame over the cardstock and stick it up with a strong cello tape. 


Now, our shadow box frame is ready to be used for framing. I planned to do origami and made a onesie (with a bib) and a diaper with origami paper.


When I thought about how to incorporate it, I thought they'll look nice if I put them on clothesline with wooden clothespin, as if they are hanging after a wash.


Here are some close ups of the final project:


Supplies used:

  • Photo frame
  • Cardstock of 220 gsm 
  • Cello Tape
  • Double sided tape
  • Scissors or Paper cutter
  • Ruler 
  • Pencil
  • Origami Paper (10 x 10 cms for the onesie and 7x7 cms for the diaper)
  • Safety pin 
  • Pattered paper (for bib)
  • A piece of cord
  • Wooden clothespin
  • Washi tape


Hope this project inspires you try something similar too. You can find all these supplies at the Rainbow Craftykari store or you can Pre-order by sending an email at info@rainbowcraftykari.in

Don't forget to link in your projects for our this month's challenge.

Love,
Ishani

Wednesday 27 September 2017

Altered Color Mixing Palette by DT Priya

Hello Crafty Friends

Good Morning. 

Priya here today with my Inspiration post for the month of September. This is a mixed media altered project again...Ya, I love them.

I have seen many altered palettes... but all of them are wooden or MDF, so I thought why not to alter a real palette...that I use or no longer use. 

So, here's how it looked after all the hard work... 


For this I sanded the palette a bit then added 2 coats of heavy gesso. I layered gauze cloth on one side and corrugated sheet on the other side of this. Then I added some stones, Chipboards, sea shells, Metal and resin embellishments to create layers. Then I started coloring. I used metallic paints here in shades of purple, pink and blue.

Finally after it dried completely, I adhered two paint brushes on one side of it.
Here are some more close up shots


Supplies used:

Any Color Palette ( Here I used Round one)
Art Basic Heavy Gesso White
Corrugated sheet
Gauze
Papericious Chip Boards 
Art Stones
Buttons
Metal Charms
Sea Shells
Painy Brushes
Metallic Paints

You can find all the above mentioned products at http://shop.rainbowcraftykari.in/ or preorder by email to rainbowcraftykari@gmail.com

Hope you like my project. 
Do not forget to participate in our ongoing challenge Here

Hugs,