Showing posts with label Shabby Chic. Show all posts

Saturday 9 June 2018

Shabby Chic Tin Tutorial by Blog Coordinator Aditi

Hello Everyone,

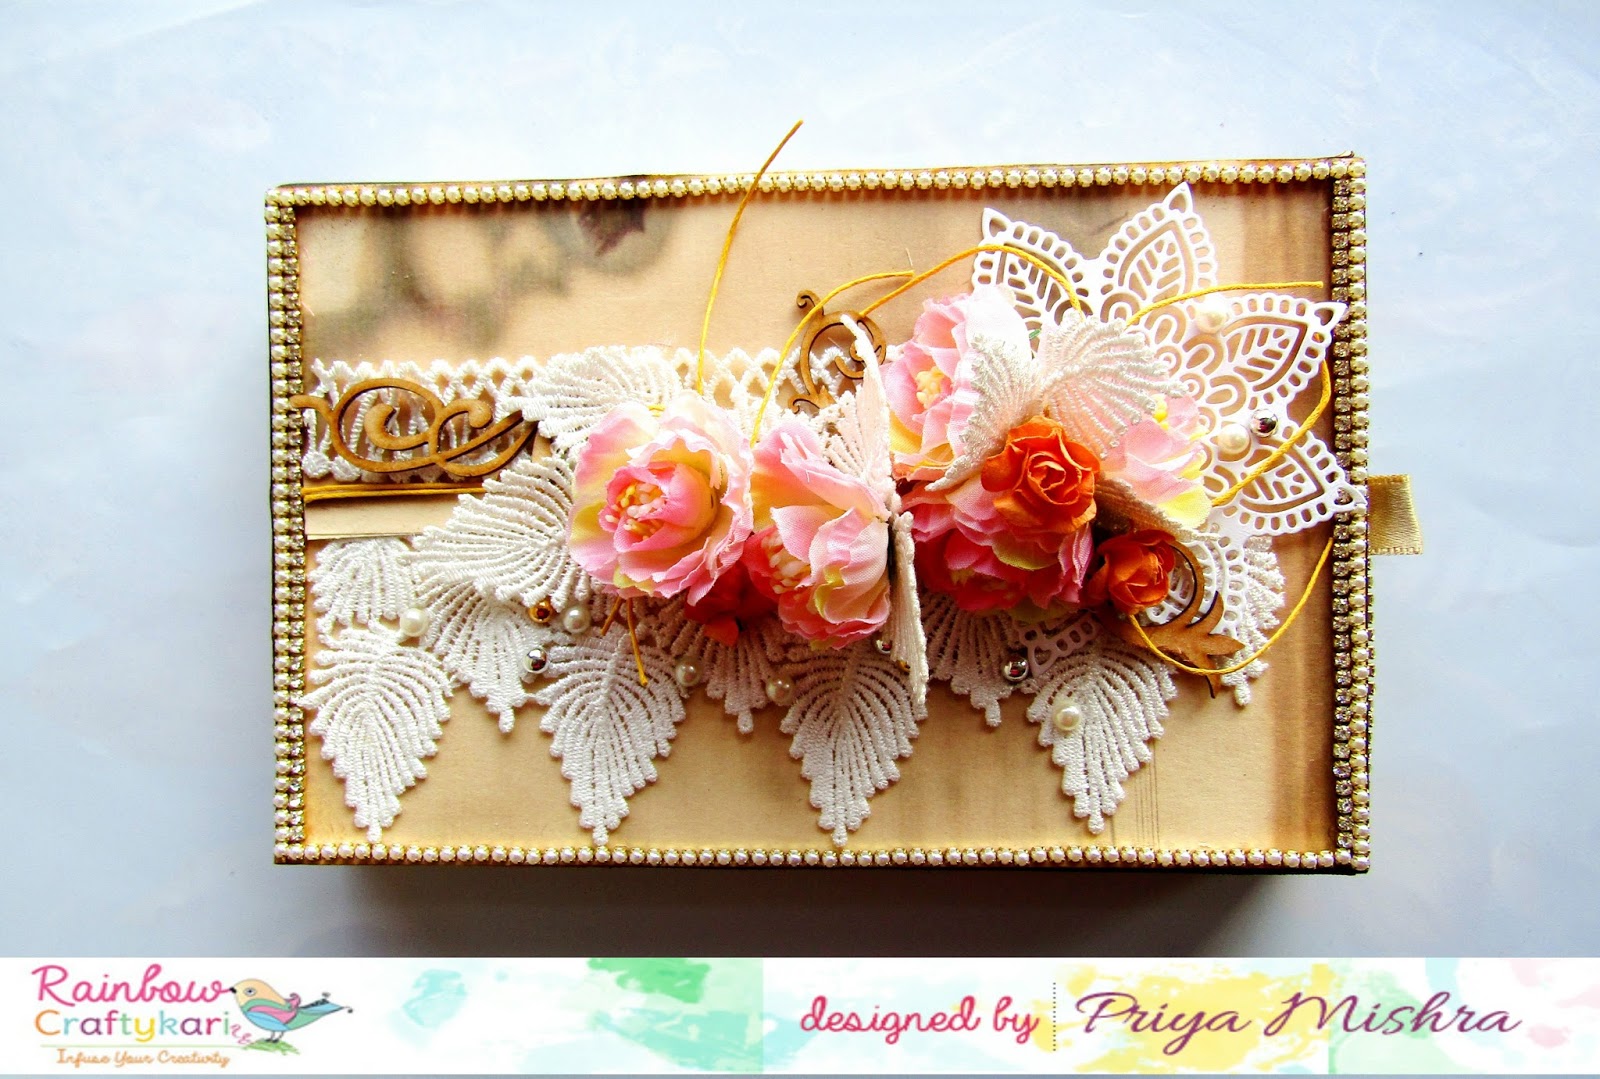
Hope you are all doing good and looking forward to the weekend! Today I'm back with a pictorial tutorial for you all. I have altered a metal tin in a shabby chic style. With simple elements, it's a decorative tin, that can be used as a pen stand, or organiser.

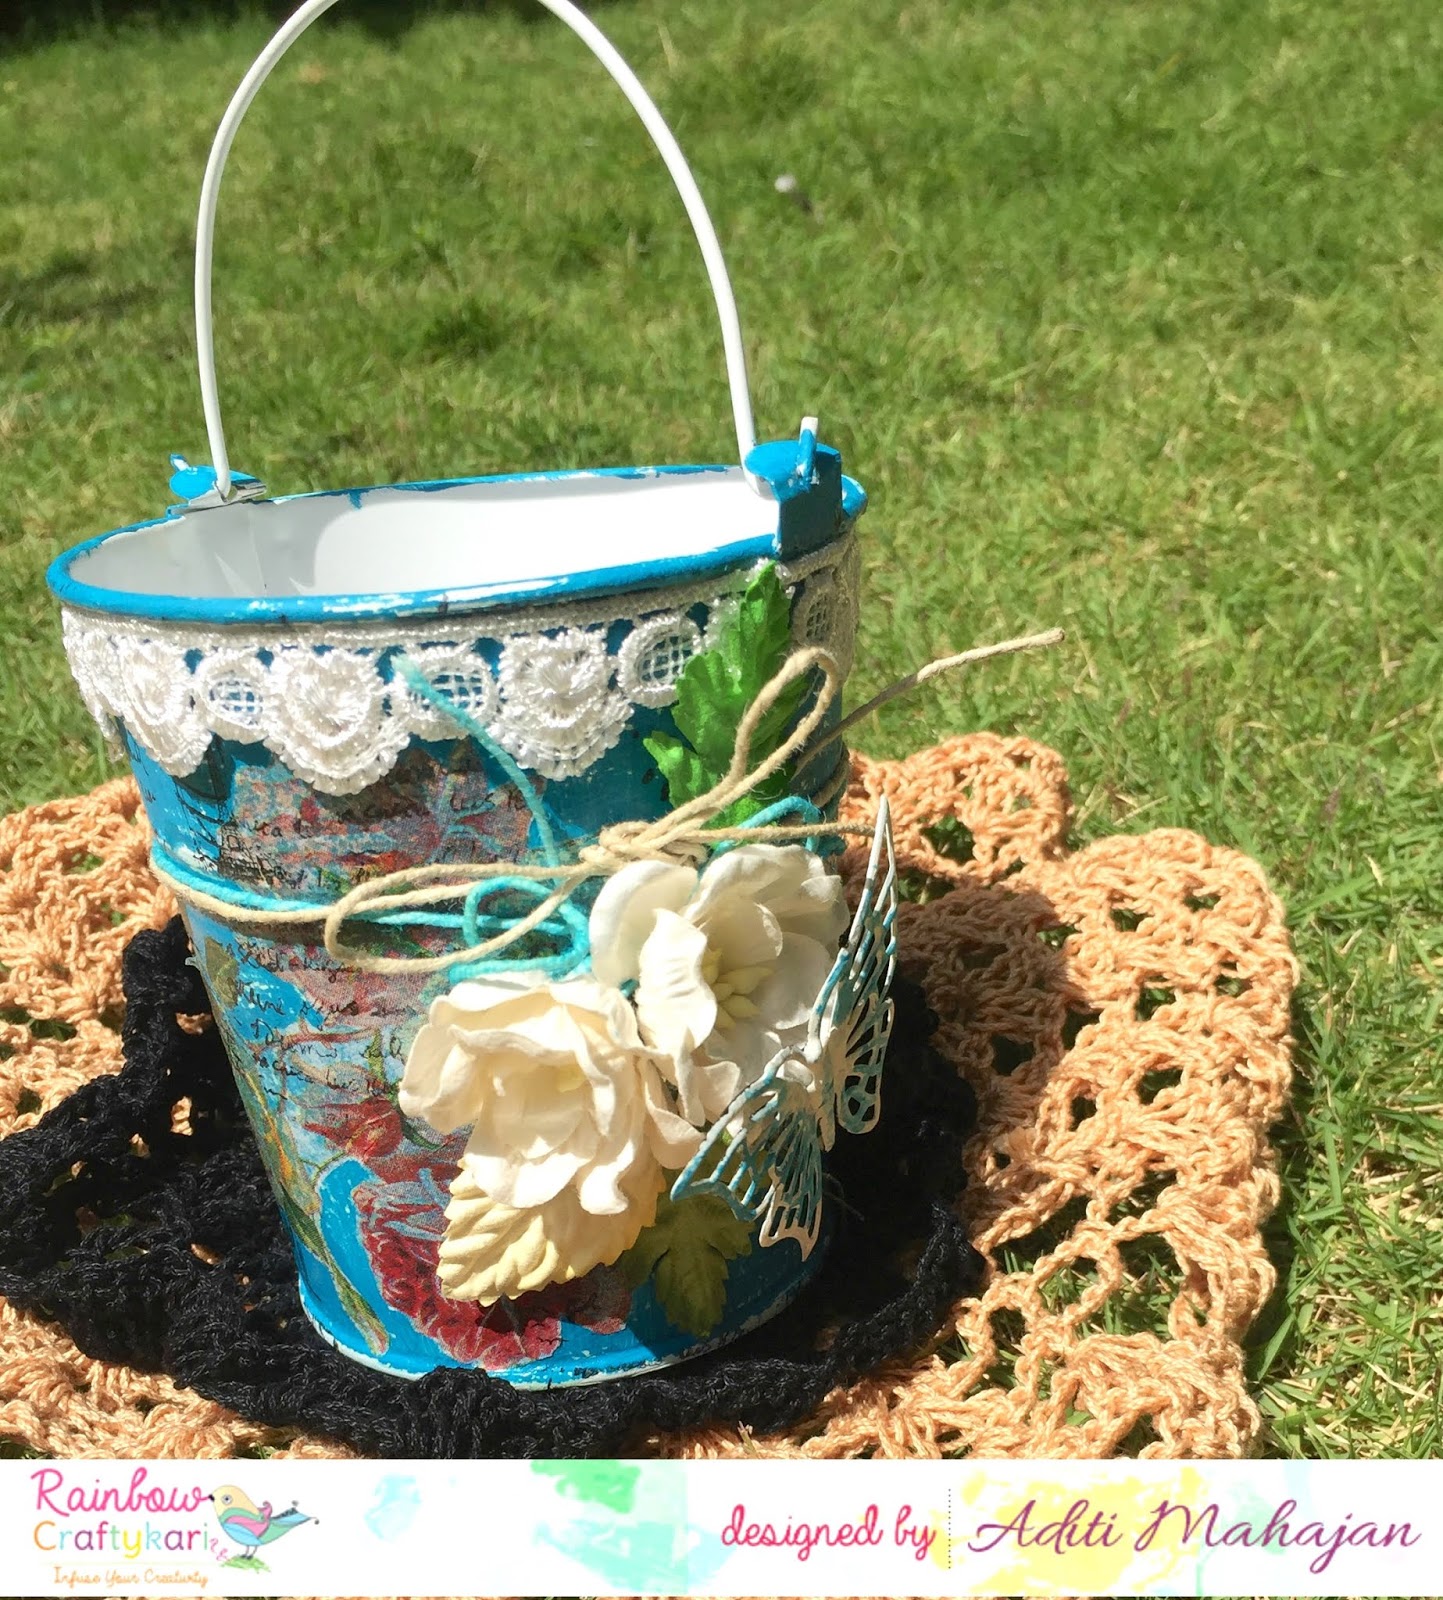
Here's a look at it:


Let's begin the tutorial:

Step 1: Here's a look at the tin first. It's metal and white in colour. 


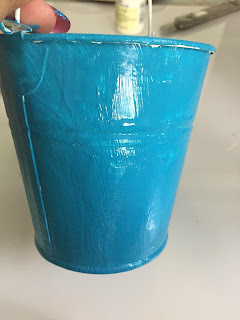
Step 2: First, give the entire tin a coat of the Folkart Home Decor Chalk Paint. I have given it two coats for a thicker finish,


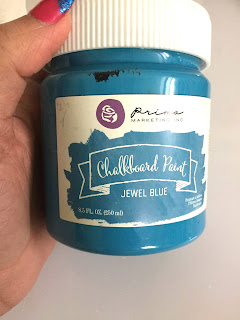
Step 3: Next, give it a coat of Prima Marketing Chalkboard Paint. This third coat is a darker contrasting colour.


Step 4: Using sandpaper, scrub the entire surface. This will give us a shabby look. 


Step 5: Pick a tissue paper and fussy cut elements to decorate the tin.


Step 6: Ensure to remove the two layers of the tissue paper before adhering it. 

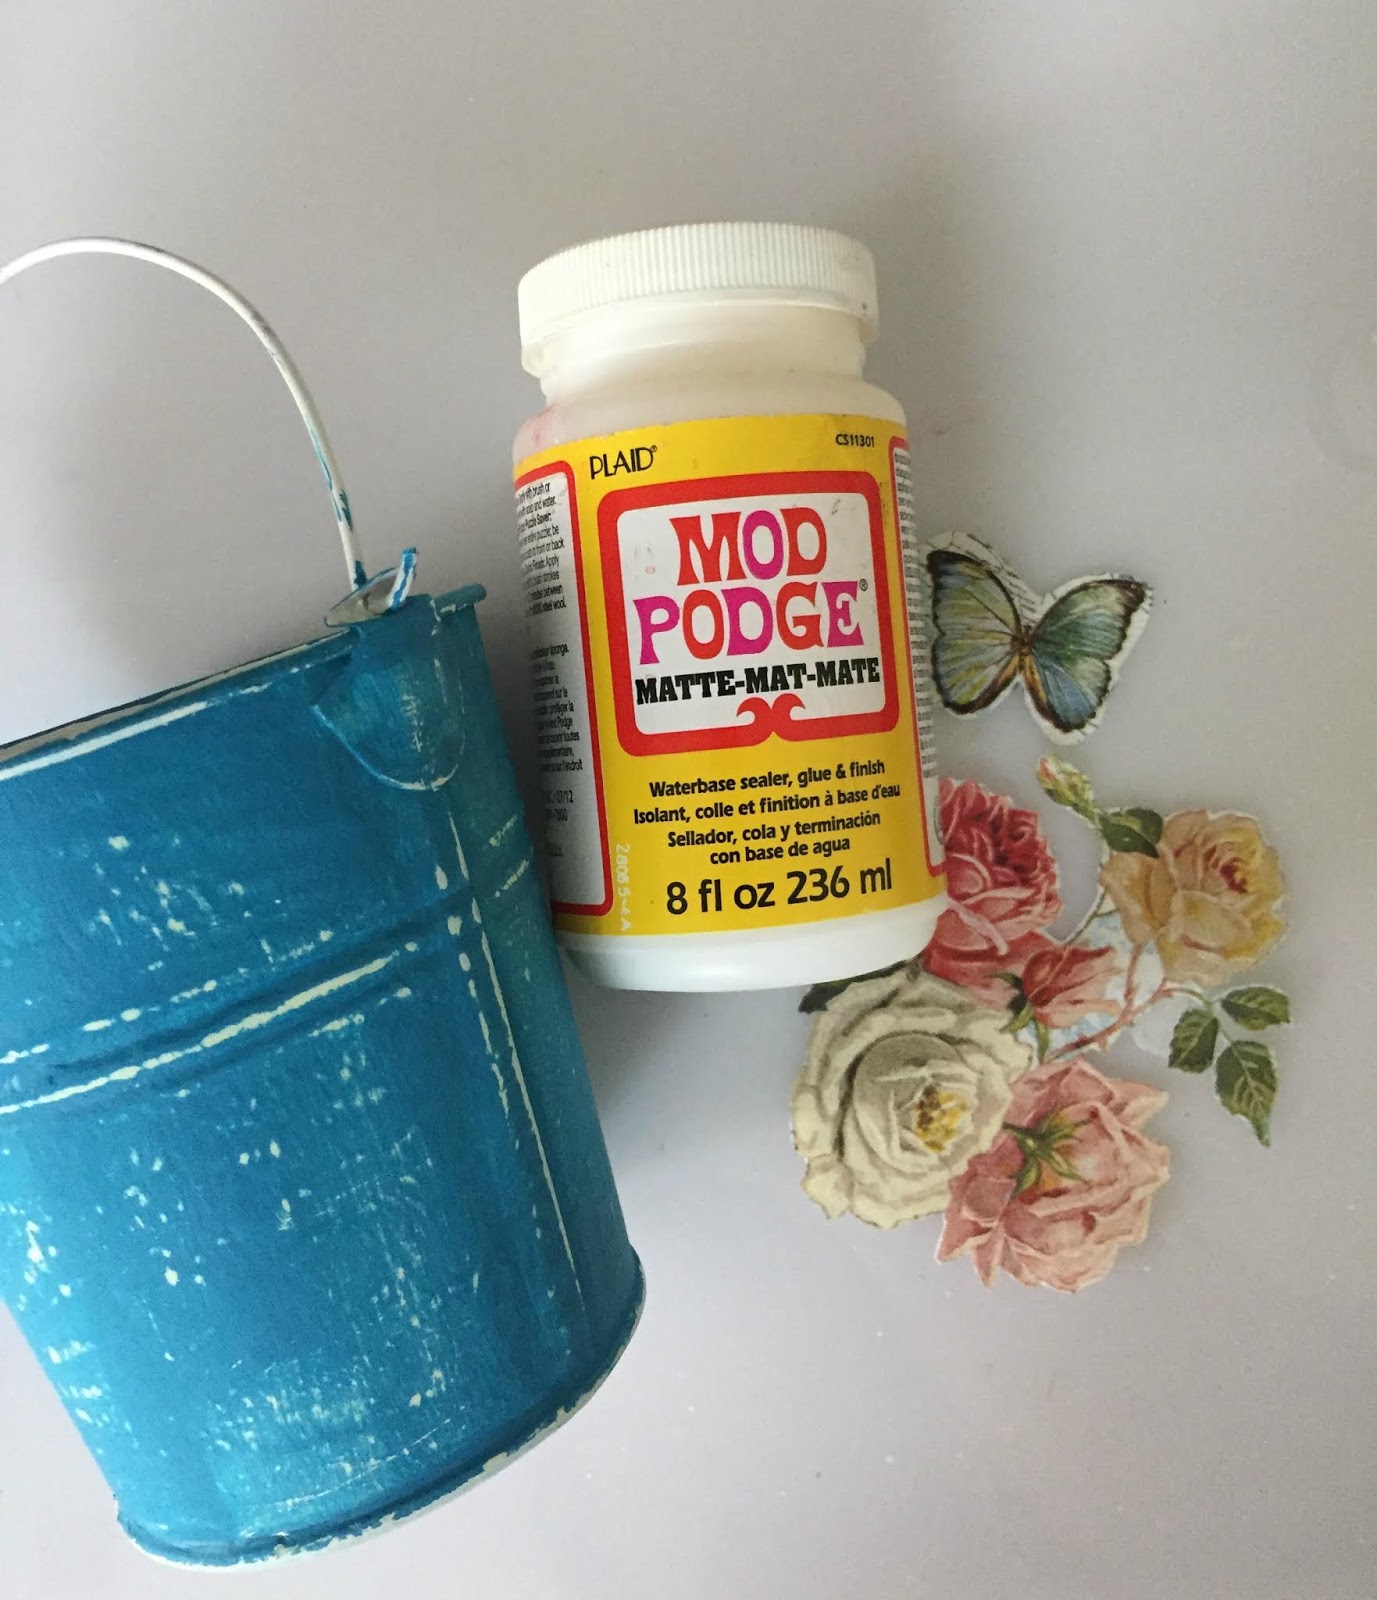
Step 7: Use mod podge and stick down these on the tin randomly.


Step 8: Use some stamps and Black ink and randomly stamp.


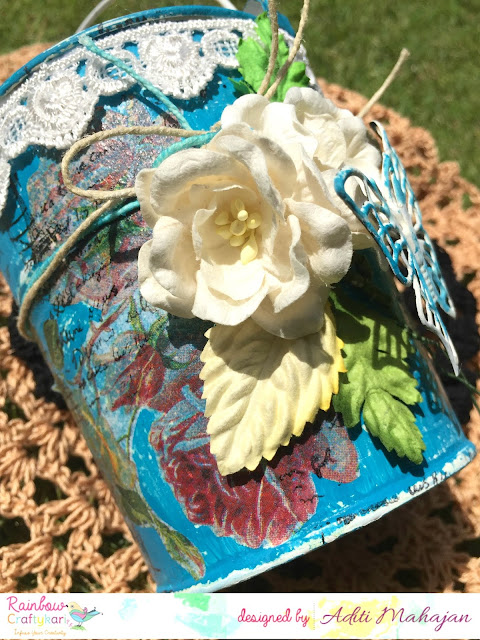
Step 9: Pick elements/embellishments to decorate the tin. I have used jute cord, lace, flowers, a metal butterfly (painted using the two paints used above).


Step 10: Glue everything together and your tin is ready,


Supplies:
  • Metal Tin
  • Metal Butterfly
  • Folkart Home Decor Chalk Paint- Satin Finish
  • Prima Marketing Chalkboard Paint Jewel Blue
  • Decoupage Napkin
  • Mod Podge
  • Papericious Jute Cord
  • Lace
  • Flowers
  • Leaves
  • Sandpaper
Do visit the Rainbow Craftykari store HERE
Visit our BLOG for more inspiration, tutorials and check out our ongoing challenge.

Above-listed materials are available on the Rainbow Craftykari Store and can also be pre-ordered by sending an e-mail at rainbowcraftykari@gmail.com.

Happy crafting!
Aditi

Monday 18 December 2017

Layered Card Inspiration by DT Khushboo


Good morning guys! 

This is Khushboo Gandhi here, with an inspiration post this week. For my project this time, I chose to show you guys how you can achieve layering when you're making cards. Sometimes layering looks complicated, but it's not that difficult. There's a simple technique to it - and it all comes down to balancing out your elements on the card.

So let's take a look first at what I've created.


Materials used:

  • White cardstock
  • Aqua blue cardstock 
  • Chipboard
  • Washi tape
  • Designer corner punch
  • Glue
  • Designer paper/tags
  • Sentiment
  • Pearl brads
  • Wooden embellishment
  • Lindy's brown spray paint
  • Paint brush
  • Brown distress ink
  • Printer paper


Brief steps for creating a card with layers:

  • Take an A4 sized white cardstock and score in the middle of it - to fold it into two and serve as a base (and the first) layer of the card.
  • For the second layer - take an aqua blue cardstock and cut it 1/8th inch less than that of your white card. Punch the corners with a designer corner punch.
  • Add chipboard underneath it (to give it a 3d effect) and stick it onto the base.
  • For the third layer - take your pattern paper and cut it in the shape of tags. If you want, you can stick it onto a black cardstock before sticking it on the chipboard, and then onto the aqua blue cardstock.
  • Take your brown distress ink and distress the edges of the cardstocks.
  • Curl or distress the edges of your tags to give it more depth and character.
  • For the base line, below the tags, take a thin strip of printer paper and cover it with a washi tape of your choice. Stick it underneath the tags to make the card more cohesive.
  • Stick a sentiment of your choice, with pearl brads at its ends.
  • Finally, splash some brown spray around the card.

Hope you guys enjoyed my creations and the tutorial. Can't wait to see how you add your own twist to this!

Above mentioned products are available at Rainbow Craftykari Store OR you can pre-order the products by sending email at rainbowcraftykari@gmail.comThat's it from me, folks!


Signing out,

Khushboo R. Gandhi

Monday 6 November 2017

Shabby Chic Jewelry Box by DT Priya Mishra

Hello Crafty Friends,

A very good morning to all of you. I'm Priya again with a photo inspiration post. This time I transformed a boring box into an interesting shabby chic jewelry box. 


The box I used is a drawer box and is beautiful inside. I just cut some pattern paper according to the dimensions and glued on it. So, here's the box I altered...


I cut the pattern papers according to desired measurements, distresssed the edges and glued on all sides of the box. Then I adhered some pearl string and rhinestone string on the top cover of the box. also some strings on the front opening of it. Then I adhered a beautiful leaf pattern lace on the top cover and attached a mandala die cut, some flowers, pearl stickers, twines and some more lace to decorate it.


Supplies Used:

Cardboard Box
Martha Stewart Score Board
Guillotine Paper Trimmer
Scissors
Eno greeting Pattern Paper
Papericious Lace
Twines
Tacky Glue
Distress Ink
Double sided Foam Tape
Chipboards
Flowers
Paper Flowers
Diecut
Pearl String
Rhinestone String
Pearl Stickers

Hope you are inspired. 
You can find all the above mentioned products from Rainbow Craftykari Store or you can pre-order the same by writing to rainbowcraftykari@gmail.com. 
Also do not forget to play along with us at our monthly challenge here.

Hugs,
Priya